3 cups of 50% Besan (chickpea) flour, 25% tapioca starch, 25% sweet potato starch.
1/2 tablespoon baking powder
1 teaspoon salt
2 eggs, whisked
2/3 cups milk
1/4 cup melted butter
In a large bowl, add 2 cups of flour mix, baking powder and salt. Mix well.
In small bowl, mix eggs and milk.
Pour milk mixture into flour mixture. Pour in melted butter. Mix well. Should be thin to medium batter. Add remaining flour a bit at a time until mixture is stiff. You might not use all the flour. That is ok.
Drop by spoonful into boiling broth. Cover and simmer for 15 minutes.
These are NOT fluffy and light dumplings. They are chewy dumplings (the texture of wheat-based strip dumplings), but they have a lovely flavor.
Tuesday, January 21, 2014
Broth x 3
A local store has 10 pounds of chicken legs and thighs for sale at $0.68 per pound (a total of $6.80). So, I got a couple sets. In a LARGE stock pot, I put chicken, onion, garlic, and a bit of salt. Filled the thing up with about a gallon of water (which is why I use a large pot), and let that simmer (with a lid on it) for about 8 hours.
Strained out the chicken, onion and garlic. Boiled the gallon of broth down to less than 1/6 of the starting amount. Cool. Freeze in ziplock bags or in mason jars. This is broth 1.
Cool the chicken pieces and the onion and garlic. When cool enough to work with, pick the meat out of the skin and off the bones. Put skin, bones, joints, and onion and garlic back into the large pot. Fill with 1-2 gallons of water. Simmer for 12 hours. Remove the solids and boil down to 1/6 the amount of liquid. Cool. Freeze in Ziploc bags or in mason jars. This is broth 2.
Crack the bones (use a meat hammer). Put the remaining solids, the cracked bones, an onion, some celery, and some garlic into the large pot. Add a gallon of water. Bring to a boil. Reduce heat and put a lid on the pot. Simmer for 12 hours. Remove solids and discard the solids. Boil the broth down. This is broth 3. For broth 3, the flavor is less intense than in broth 1 or 2. So this is the perfect broth to use for delicately flavored soups, to use for boiling potatoes for mashed potatoes, or for cooking fish.
Saturday, January 18, 2014
Reorganized the kitchen. Thought I would share pictures.
Having read the 52 weeks to an organized home, I thought I would participate in the challenge. For me, I feel blessed to be starting from a good place already (thanks to just recently having moved!!). So, I have spent about 2 hours today working on the kitchen and organizing it a bit more. I am including pictures of all the cabinets and drawers. And the recently cleaned out refrigerator (which also has my yummy cheese covered tater chunks from last post in it).
Here is the link for the challenge: 52 weeks challenge ... I hope it interests you.
PICTURES Of KITCHEN

 To-Go cups, yam noodles and extra little bottles for spices and storage. Larger water bottles, some spices, tea set, and baking dishes for casseroles. The big pot on the stove has the venison roast.
 Plates, bowls, lunch containers (in glass), bean pots, spices.
 Sink. Brushes in a ceramic vase and elderberry extract in a pottery vase. Reminds me to use my elderberry extract each morning to keep from catching all the viruses and bacteria I am exposed to by being out in the community.
 Glasses, mugs, flours (bean, tapioca, sweet potato, etc) and my food cabinet. The potato bowl holds the beep collars for the two dogs and the two glass jars have dog treats.
 Refrigerator. Camping gear, dehydrator, and electric skillet on top. Bookcase of cookbooks. Other part of the bookcase is for dog stuff - coats, leashes, etc. Chair holds tote of dog food so I do not have to bend to get a scoop. That way if my back is acting up, I can still get to the dog food.
 Overview of the kitchen.
 Inky! And kitchen
 Kitchen
 Two person table. Himalayan Sea Salt grinder. Jody Bergsma coasters. Two placemats.
 The one plant in the house. A little light that stays on all the time. Night lights are throughout the house to reduce fall risk.
 cookbooks and dog things.
 dog leashes, wind chime, and aprons.
 Lunch bags on top, dog coats, totes of leashes and assorted dog supplies.
 Clean refrigerator. Brian's side (the fuller one) and my side (the emptier one).
 Freezer - full of homemade broth in glass jars, grated cheese in glass jars, tomato sauce put up from the garden this summer, homemade bread crumbs, and venison.
 Freezer jars of chili and the glass jars of cheeses.
 Cabinets have pull-out shelves. Awesome for baking dishes and things. I use glass baking dishes or stainless steel. No aluminum. I can taste the difference when I cook things in aluminum.
 cabinets
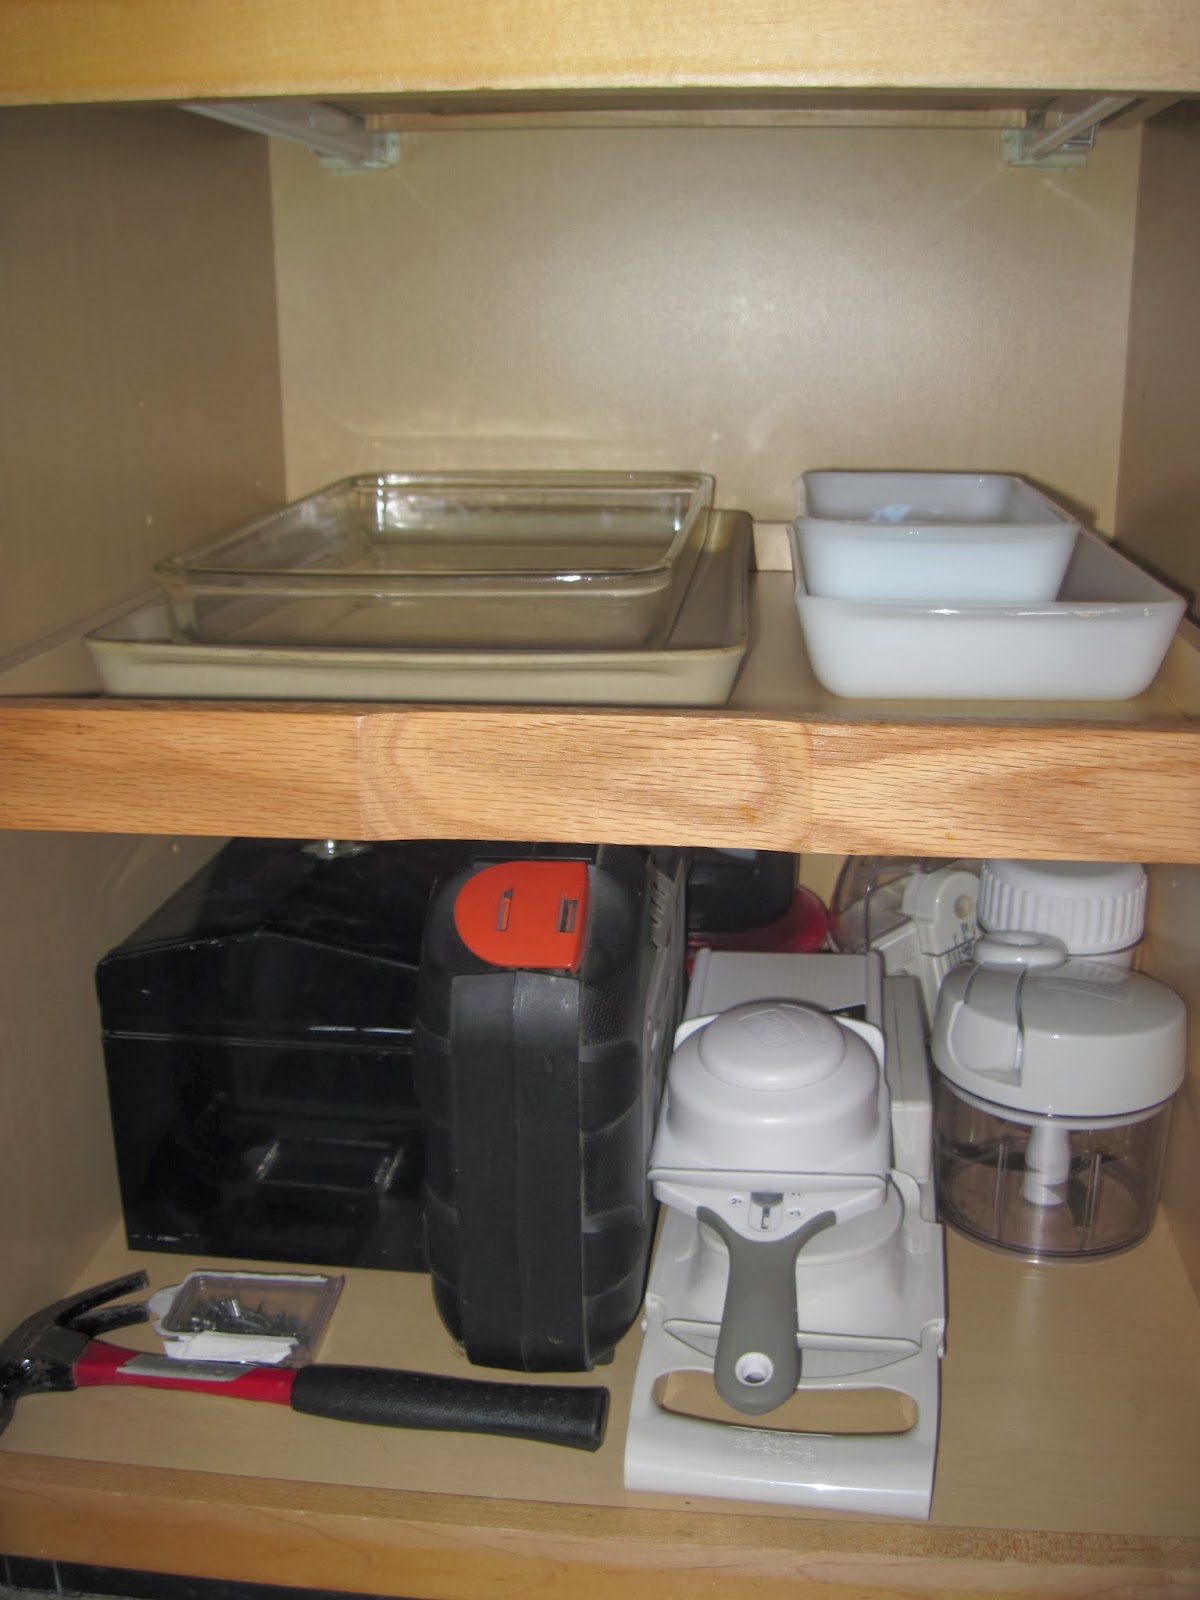 cabinet with tool box. Also pampered chef mandolins. I love those things. Takes a great deal of body fatigue out of slicing veggies!
 under the sink and the trashpail. We recycle lots and do not generate much waste! So, we only need a little trash pail.
 odd shaped items, to-go cup straws, stainless steel straws, tongs, and my garlic presses. Also dish clothes and sponges.
 silverware, knives, and graters. The knives mostly have sheathes on them. There are a few paring knives without sheathes. I LOVE my kitchen shears. I use them more often than knives for cutting things.
 the cutting board fits over top of the glass dish holding the knives. Which is handy and also makes it almost impossible to accidentally put you hand into the knife tote.
 Dish towels, wraps, baggies, and potholders.
 The junk drawer - tape, flashlights, scissors, grocery lists, hangers, batteries, binoculars, gardening gloves.
 Teas and measuring cups. Also 2 bottles of vanilla beans.
 placemats and fabric napkins. Couple more aprons. Tablecloth.
 Wok and veggie steamer. Stainless Steel bread pans.
 Pans. The empty space is for the pot that is currently on the stove with venison roast.
POTATOES WITH CHEESE BAKED IN THE OVEN:


Here is the link for the challenge: 52 weeks challenge ... I hope it interests you.
PICTURES Of KITCHEN
Brian's Cabinet of food. Beans and water bottles.
POTATOES WITH CHEESE BAKED IN THE OVEN:
what to do with leftover baked potatoes: Cheesy taters like home fries
Had 3 large baked potatoes left over from dinner the other night. Skinned them, cut them into chunks and layered them out on a glass baking dish. Sprinkled them with garlic powder, onion powder and a bare small amount of salt. Cut mild cheddar slices and layered those on over the taters. The cheese was cut pretty thin, but not see-through thin.
Put the pan into the oven. Turned it onto 400 degrees Fahrenheit. Left it to bake. In about 30 minutes checked it. Took another 10 to be golden and crispy.
Ate them with ketchup. Turns out the texture of the potato is about the same as a perfectly cooked home fry. The cheese on top is crispy and delish. In between the home fry crumbly tater and the crispy crust is a layer of melted cheese.
Oh my, lunch was delicious!!
Subscribe to:
Posts (Atom)